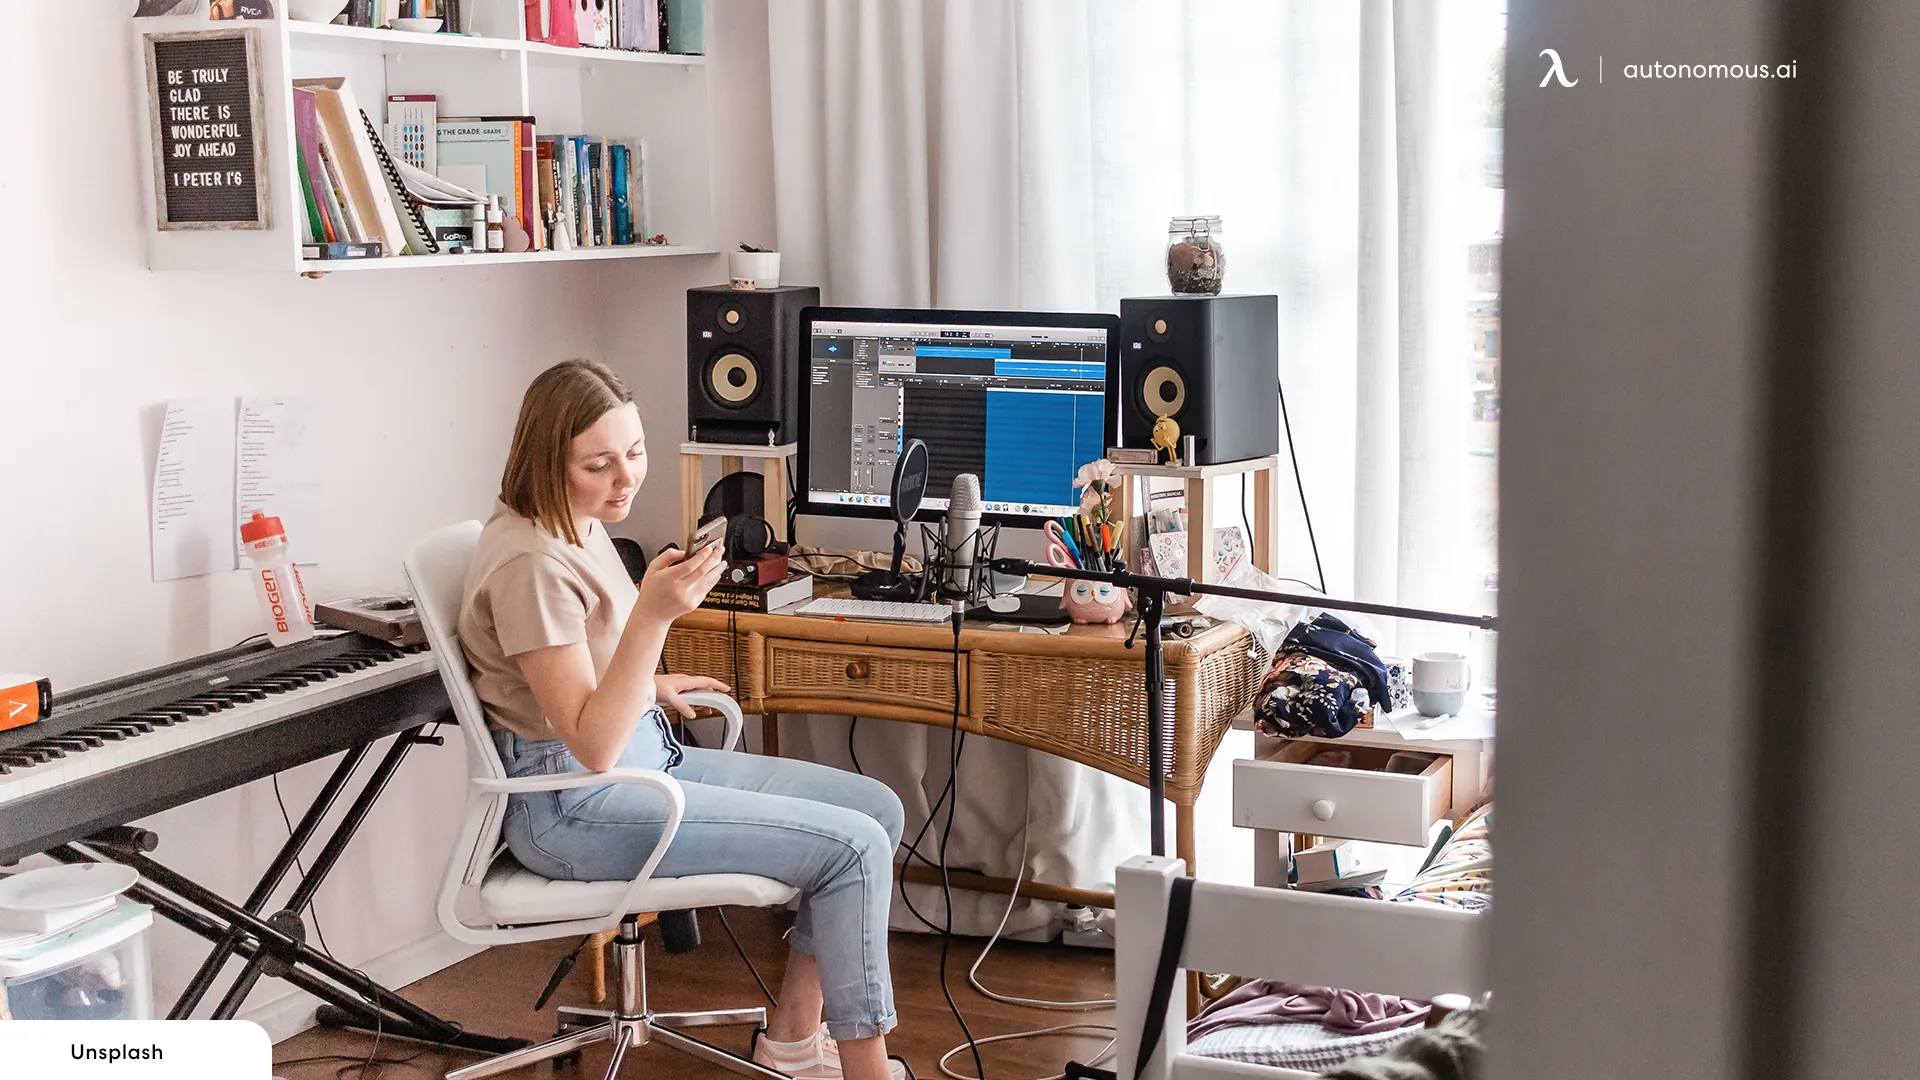
Everyone has a general idea of what a recording studio looks like. We’ve got the producer chairs, sofa, window that separates the vocal booth and the recording room, and of course – the legendary mixing desk. Many wouldn’t overthink the interior design of a recording studio. After all, it wouldn’t make an impact on your recording, right?
Well it absolutely does!
If you look closely, recording studios treat their spaces primarily to control the acoustics and ensure the highest possible sound quality for recordings. Just to name a few, it minimises reflections and echoes, reduces external noise, improve monitoring accuracy, and enhance recording quality. If you wish to learn more about sound treatment, our Advanced Recording and Mixing module in our degree courses specifically teaches students how to professionally treat their rooms. Check out pointblank Music School’s website here.
Now let’s get into it. We have 7 simple steps on how to treat your room perfectly.
1. Understand Your Room’s Sound Problems
- Listen to Your Room: Clap your hands and listen for echoes or strange sounds. These are areas that need treatment.
- Room Shape and Size: Know the shape and size of your room because this affects how sound behaves.
2. Use Bass Traps
- Corners Are Key: Bass traps help control low-frequency sounds (bass) that build up in corners. Place them in the corners of your room.
- Start with the Basics: If you can, place bass traps from floor to ceiling. If not, even just the upper corners can make a big difference.
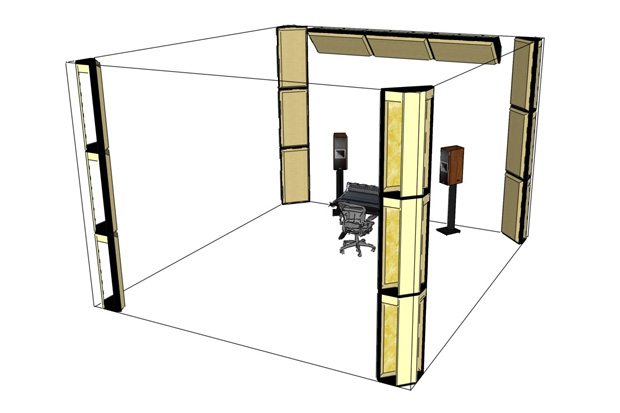
3. Treat First Reflection Points
- Find Reflection Spots: Sit in your listening position and have someone move a mirror along the walls. Where you can see the speakers in the mirror is where you need treatment.
- Absorb Sound: Use soft panels (like foam or specialised acoustic panels) on these spots to absorb sound and reduce echoes.
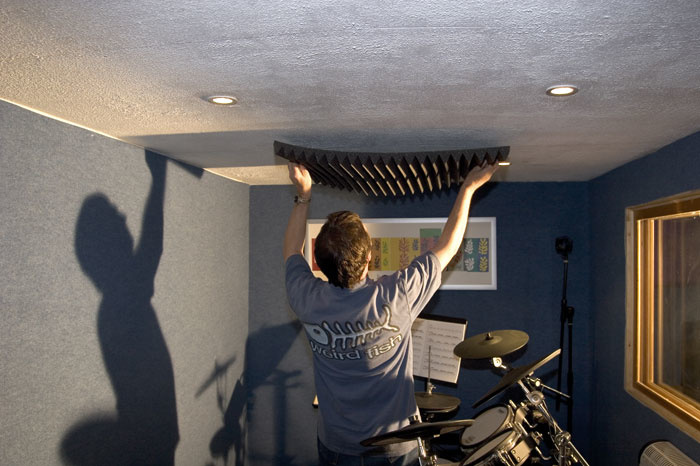
4. Scatter Sound with Diffusers
- Use Diffusers: Diffusers break up sound waves and scatter them, making the room sound more natural. They’re great for the wall behind you.
- Balance Absorption and Diffusion: Don’t cover every surface with foam. Use a mix of absorption (soft materials) and diffusion (hard, irregular surfaces). Carpets are also a great sound absorber for the floor.
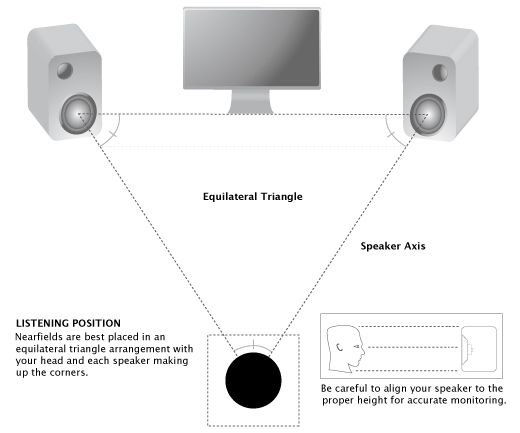
5. Place Your Speakers and Listening Position Correctly
- Triangle Setup: Set your speakers and listening position in an equilateral triangle (all sides equal). This helps you hear the most accurate sound.
- Sweet Spot: Your listening position should be about 38% of the way into the room from the front wall.
6. Check Your Room’s Sound
- Measure the Sound: Use a simple app or a microphone and software to measure how your room sounds. This helps you see where problems are.
- Adjust as Needed: Based on your measurements, move your panels or add more treatment where necessary.
Sounds really complicated? Join pointblank and we’ll teach you every step in detail. From degrees to professional courses, we’re here to develop your skills as an industry professional. We have campuses in London, Los Angeles, Ibiza, and Online because your location shouldn’t hinder you from learning with the best. We also have summer offers on all professional courses so grab them while you can!
Register to Access Free Courses, Plugins, Projects, Samples & More
When you register with pointblank, you access an array of free sounds, plugins, online course samples and much more! Simply register below and visit our Free Stuff page to get your hands on a range of exclusive music-making tools and tutorials provided by the team. Fill your boots!