In electronic music, drums are the foundation. Whether you’re producing house, techno, trap, or pop, a tight and impactful drum mix is what gives your track its drive, energy, and professional edge. Well-mixed drums cut through the mix, lock in with the bass, and give your production a sense of rhythm and momentum that listeners feel instantly.
But mixing electronic drums isn’t just about turning up the kick or adding some reverb to a snare. It takes careful balancing, thoughtful EQ, well-timed compression, and a clear understanding of how each drum element fits into the bigger picture. The good news is that with a few key techniques and a solid approach, you can dramatically improve your drum mixes, even if you’re working entirely in the box.
In this guide, we’ll walk you through the essential techniques for mixing electronic drums that hit hard, stay clear, and keep the energy flowing throughout your track.
Understand the Role of Each Drum Element
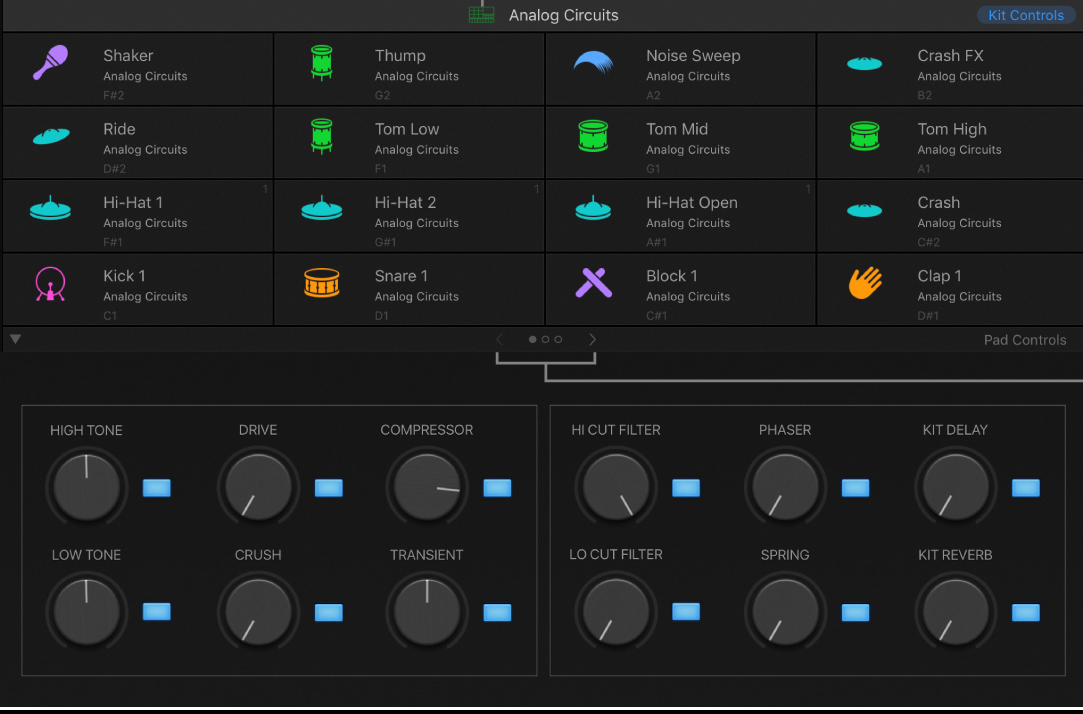
Before you start EQing or compressing anything, it is important to understand what each drum sound is doing in your track. Every element in your drum mix has a specific role and knowing how they work together will help you shape a more balanced and effective sound.
Kick Drum
The kick is the anchor of most electronic tracks. It drives the rhythm and fills out the low end. In many genres, such as techno, house, and trap, the kick and bass need to work together without competing for space. A good mix starts with a kick that is solid, consistent, and clearly defined in the low-frequency range.
Snare or Clap
The snare or clap provides the backbeat and adds impact to your groove. It usually sits in the midrange and should be punchy enough to cut through, but not so sharp that it overpowers other elements. In some styles, you might layer claps and snares for extra texture and energy.
Hi-Hats and Cymbals
Hi-hats add pace, rhythm, and brightness. Closed hats often sit between the kick and snare to drive momentum, while open hats and cymbals create contrast and movement. These elements typically live in the upper mids and high frequencies, so you need to ensure they do not sound harsh or thin.
Percussion and FX
Extra percussion like toms, shakers, and synthetic hits can add groove and variation. Drum FX such as sweeps or impacts help create transitions and dynamics across your arrangement. These elements should support your groove without crowding the core drum sounds.
When you understand the purpose of each sound in your drum section, it becomes easier to make mixing decisions that support the track rather than just treating each sound in isolation.
Start With High-Quality Drum Sounds
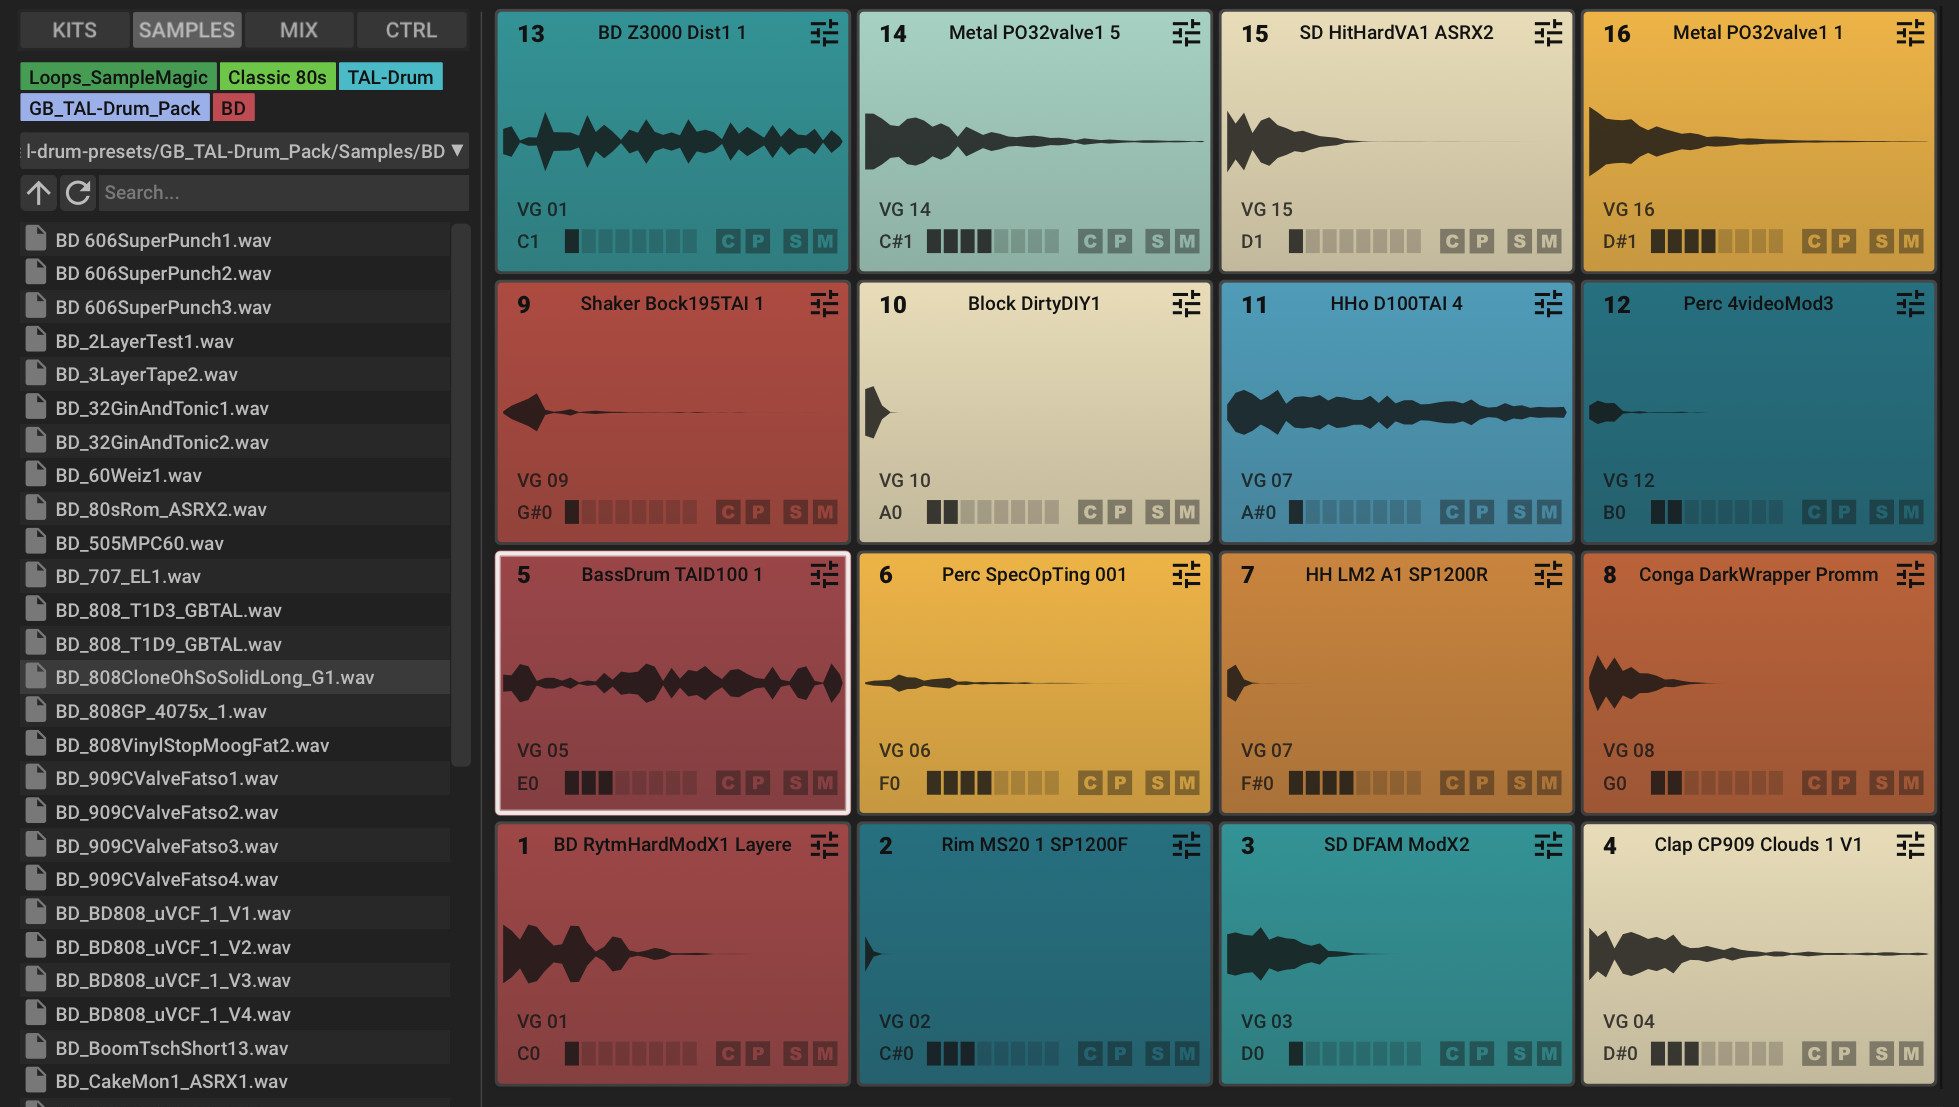
The foundation of a great drum mix begins before you touch any EQ or effects. Choosing the right drum sounds from the start makes mixing easier and helps your track sound more polished from the beginning.
Use Clean, Well-Produced Samples
If you are using sample packs, choose ones that are already processed with clarity, punch, and minimal noise. Samples that are muddy, dull, or poorly recorded will require more work to fix and may still fall short in the final mix.
Match Your Sounds to Your Genre
Different styles of electronic music demand different drum tones. A techno kick should sound heavy and deep, while a trap kick may have more midrange and bite. Snares in house music often rely on layered claps, whereas snappy snares suit drum and bass. Choose sounds that naturally fit the energy and style you are going for.
Avoid Overlayering
Stacking too many kick drums or snares can lead to phase issues and a cluttered mix. Instead, focus on one strong core sound and only layer if it genuinely adds something useful, such as extra low-end or snap. If you do layer, adjust volume levels, envelopes, and EQ to make each layer serve a distinct purpose.
Fix Issues at the Source
If a kick is too boomy or a hat too sharp, consider replacing it rather than trying to fix it with EQ. Starting with well-chosen, balanced drum sounds saves time and improves results across the entire mix.
A strong selection of drum sounds sets the tone for the rest of your mix and gives your processing more to work with later in the chain.
EQ Techniques for Clarity and Separation

Equalisation is one of the most powerful tools you can use to create space and definition in your drum mix. Rather than boosting everything to make it louder, the goal is to carve out space so each element can be heard clearly without clashing.
Clean Up Unwanted Frequencies
Start by removing unnecessary low-end from sounds that do not need it. Use a high-pass filter on hi-hats, claps, and percussion to clear out sub-bass energy that can muddy your mix. Be subtle, but effective. A hi-hat with rumble underneath can quickly eat into the headroom reserved for your kick and bass.
Shape the Kick
Use a low-shelf or peak filter to emphasise the sub area (around 50 to 100 Hz) if your kick needs more weight. Cut gently around 200 to 300 Hz if it sounds boxy. If you want more attack, a slight boost around 2 to 5 kHz can help it punch through.
Sculpt the Snare or Clap
Snare drums often need presence in the 1 to 4 kHz range to stand out. Be careful not to overdo it, as this can make the sound harsh. If your snare feels muddy, a dip around 300 to 500 Hz can tighten it up. If it lacks body, consider boosting around 150 to 200 Hz.
Separate the Hats
Hi-hats live in the 5 to 10 kHz range, so avoid overlapping them too much with the snare. A narrow cut in the snare’s upper mids can help the hats breathe. If the hats feel thin, a small boost around 8 to 10 kHz can add brightness without becoming brittle.
Use Subtractive EQ
In most cases, cutting frequencies is more effective than boosting. Removing problem areas lets other sounds come forward naturally, keeping your mix open and balanced.
A clean, well-EQ’d drum mix will leave space for synths, vocals, and bass without sacrificing power or energy.
Compression for Punch and Control

Compression helps control dynamics and add punch to your drum sounds. When used correctly, it can bring energy, consistency, and focus to your mix. When overused, it can flatten your drums and remove their natural groove.
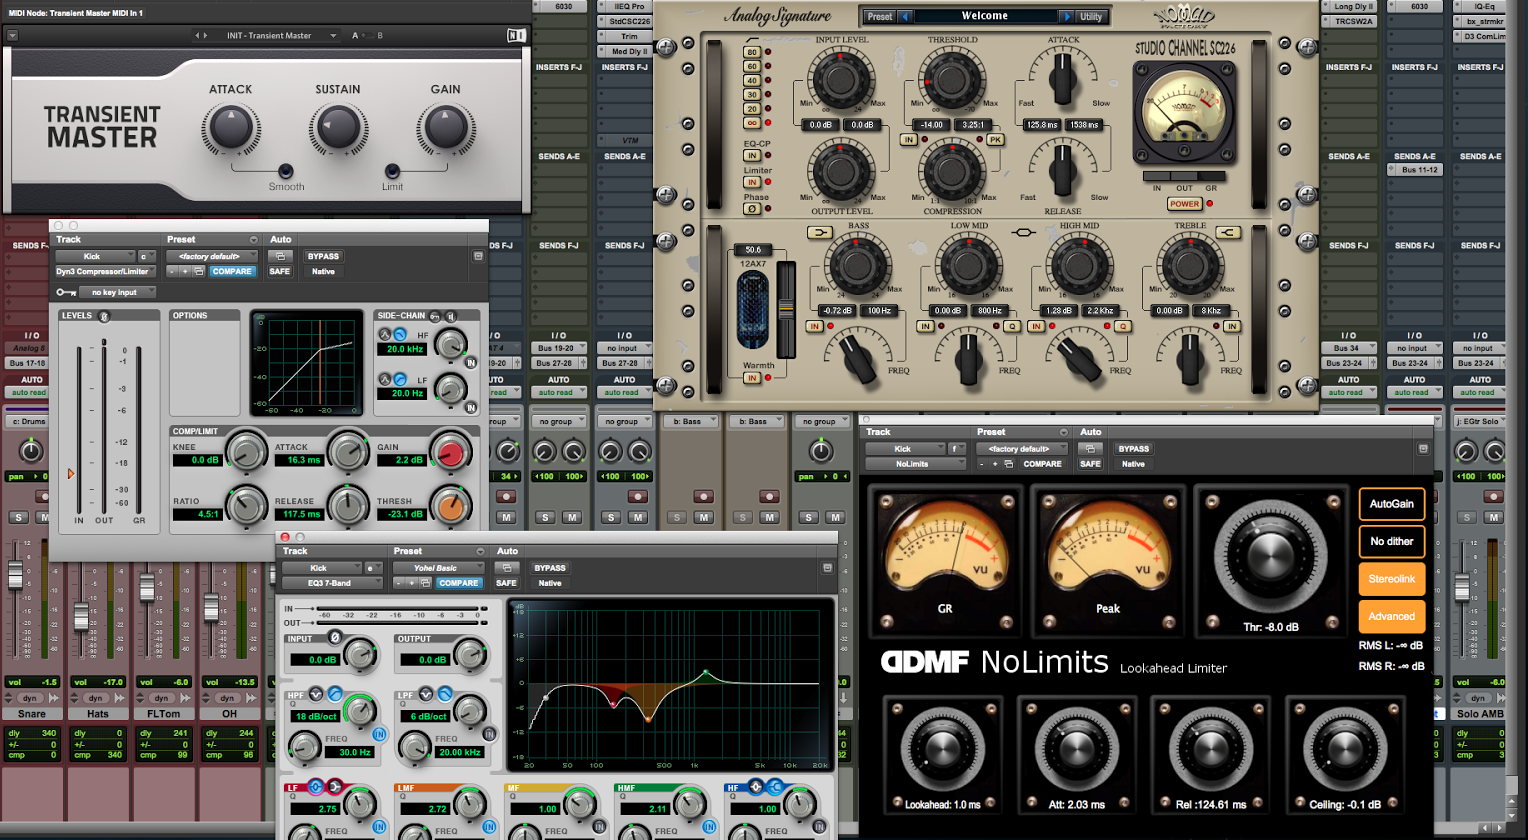
Use Compression on Individual Drum Sounds
Apply compression to kicks and snares if they sound too uneven or lack impact. Set a medium to slow attack time to let the initial transient come through, then adjust the release to match the rhythm of the track. A faster release will create a tighter feel, while a slower release will add weight and sustain.
Avoid compressing hi-hats and cymbals too heavily, as they can become harsh or lose clarity. In many cases, these elements are better left uncompressed or lightly tamed with transient shaping.
Apply Parallel Compression for Extra Energy
Parallel compression, also known as New York compression, involves blending a heavily compressed copy of your drum mix with the original. This lets you add thickness and sustain without squashing the dynamics.
To do this, send your drums to a separate bus, apply strong compression (high ratio, fast attack, medium release), and blend it back in with the dry signal. This is especially effective for adding weight to snares and punch to the overall kit.
Watch the Gain Reduction
Use just enough compression to control peaks and enhance presence. If you see the gain reduction meter constantly moving or dipping too far, ease off the threshold or ratio. Over-compression can dull your transients and reduce the impact of your drums.
Compression is not just a technical step. It shapes the feel of your drums and can turn a flat loop into a powerful, driving rhythm.
Layering and Envelope Shaping
Layering and shaping drum sounds gives you more control over tone, timing, and energy. When done with purpose, layering adds depth and character without overcrowding your mix.
Layer for Contrast and Fullness
Use layering to combine different aspects of a sound. For example:
- Pair a deep sub-heavy kick with a short, punchy kick to get both weight and impact
- Layer a snare with a clap or rimshot to add width or texture
- Blend tonal and atonal percussive sounds for variation
Make sure each layer serves a distinct role. If two layers occupy the same frequency range or have similar transients, they may cause phase issues or sound cluttered.
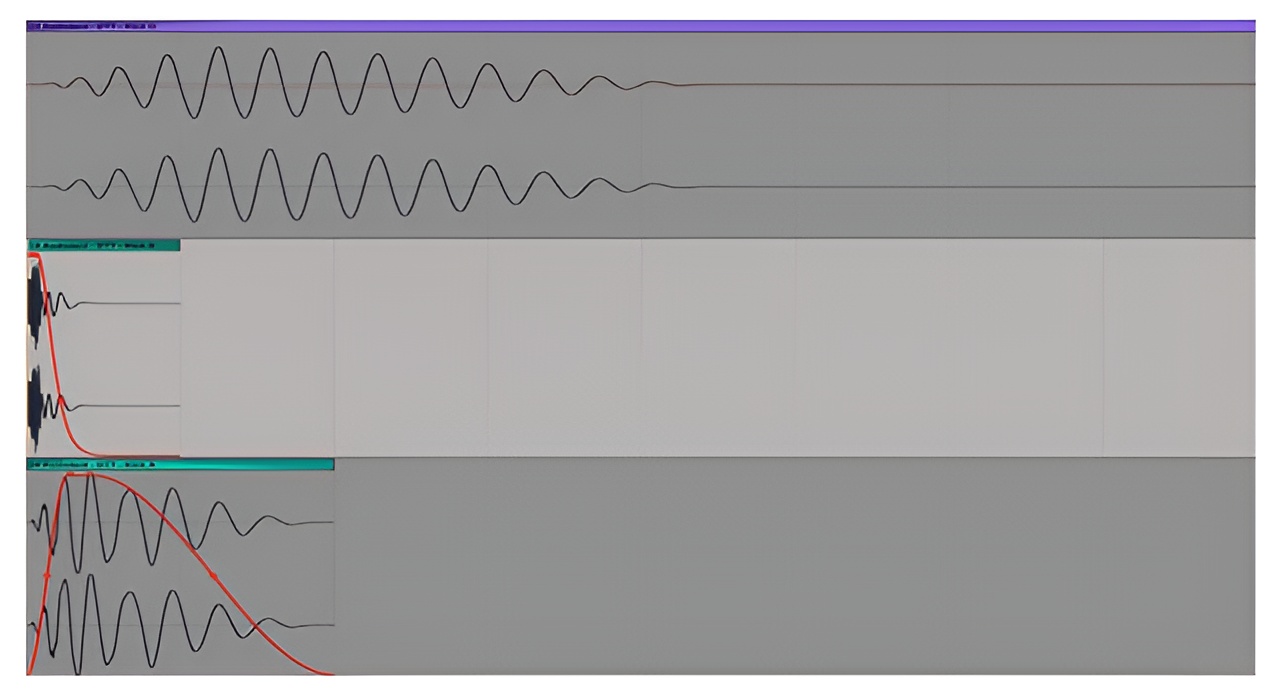
Use Envelopes to Shape Timing
Most drum samplers and synthesizers allow you to adjust the envelope (attack, decay, sustain, release) of each sound. This lets you:
- Shorten tails to keep the rhythm tight
- Smooth out harsh transients
- Align layered sounds for tighter hits
- Shape grooves by changing the timing or feel
For example, reducing the decay on a kick can create space for the bassline, while adjusting the attack of a hi-hat can change its placement in the groove.
Adjust Gain and Phase
Always match volume levels between layers before committing to EQ or compression. Use phase inversion or slight timing adjustments if the layers are cancelling each other out or sounding thin.
Shaping your drums through layering and envelopes gives you a customised sound that cuts through the mix and matches your style.
Drum Bus Processing for Cohesion
Once your individual drum sounds are mixed, sending them through a dedicated drum bus lets you glue everything together. Drum bus processing adds consistency and character to the overall drum section without losing the impact of each element.
Use Bus Compression to Glue the Mix
A light amount of compression on the drum bus can help unify your drums and add subtle control. Use a low ratio (around 2:1), a slow attack to preserve transients, and a medium release to keep things flowing. Aim for 1 to 3 dB of gain reduction so you do not squash the energy.
Add Saturation or Subtle Distortion
Tape or analogue-style saturation plugins can add harmonics, warmth, and perceived loudness. This works especially well for genres like house, techno, or drum and bass, where a slightly gritty or rounded drum sound adds character.
Avoid pushing the saturation too far unless distortion is part of your sound design. The goal is to add tone and texture without losing clarity.
EQ for Final Balance
Use a gentle EQ curve on the drum bus to fine-tune the overall balance. A slight high-shelf boost can add brightness to the hats, while a small low-shelf lift can reinforce the kick. If needed, cut out low-end rumble below 30 Hz to clean up the mix and avoid interfering with mastering.
Consider Soft Clipping or Limiting
Applying soft clipping or a transparent limiter to the drum bus can help tame peaks and increase perceived loudness without affecting punch. Use it sparingly and always A/B with the original signal.
Processing your drums on a bus gives you more control over the overall tone and impact, helping the full kit sit better in the context of the track.
Space and Depth With Reverb and Delay
Reverb and delay can add atmosphere, movement, and a sense of space to your drum mix. In electronic music, these effects are often used creatively, but they need to be applied carefully to avoid muddying the rhythm or blurring the impact of key elements.
Use Reverb Selectively
Reverb can add dimension to snares, claps, and percussion, but it rarely works well on kicks or fast hats. Use short, tight reverbs for subtle room feel or longer plates for a more dramatic effect. Always shape your reverb with EQ and remove low frequencies below 200 Hz and tame highs above 10 kHz to keep the mix clean.
Try sending multiple drums to a shared reverb bus rather than placing reverb directly on each track. This approach sounds more natural and is easier to control.
Add Delay for Width and Groove
Delays can create rhythmic interest and stereo spread without masking the original signal. For example:
- Use short slapback delays on snares to add width
- Add ping-pong delay to percussion for movement
- Sync delay times to your track’s tempo for rhythmic cohesion
Automating the delay feedback or wet/dry mix can add variation throughout your track.
Keep the Dry Signal Clear
Blend your wet effects subtly with the dry drum signal to maintain clarity. If your drums start to sound washy or distant, reduce the effect level or shorten decay times.
Use Sidechain or Gating for Control
If your reverb or delay tails are interfering with the groove, use a gate or sidechain compression to control them. For example, sidechaining a reverb bus to the kick drum can duck the space momentarily when the kick hits, keeping your mix punchy and focused.
A little space can go a long way. Well-placed reverb and delay help your drums feel alive without overwhelming the rest of the mix.
Final Tips for Impact and Energy

Now that your drums are balanced, shaped, and processed, it is time to add those final touches that bring life, energy, and movement to the mix. These details can make the difference between a flat loop and a drum section that feels alive and ready for release.
Automate Volume and FX
Use automation to introduce subtle changes across your arrangement. Raise the volume of your snare slightly during a build-up or automate a filter sweep on your hats to create tension. Automation adds motion and helps your drums respond to the dynamics of the track.
Introduce Variation
Repeating the same drum loop for four minutes will quickly lose impact. Introduce changes in velocity, swing, arrangement, or effects across different sections. Try dropping out the kick during a breakdown or muting hats before a drop to create contrast.
Reference Professional Tracks
Compare your mix with commercially released tracks in the same genre. Focus on how loud the drums are relative to other elements, how much space the kick and snare occupy, and how the drums evolve throughout the track.
Be sure to level-match your mix with the reference so you are making fair comparisons. Use referencing as a guide, not a rule, and aim for competitive quality, not imitation.
Trust Your Ears
Mixing drums is as much about feel as it is about technical steps. If something sounds wrong, it probably is. If it feels right, it usually is. Learn to trust your ears and make decisions that serve the groove and emotion of the track.
Mix Drums That Drive Your Track Forward
Great drum mixes are not just about loud kicks or sharp snares, they are about clarity, balance, and energy. In electronic music, where rhythm often takes centre stage, your drum mix has the power to carry the entire track.
By starting with the right sounds, using EQ and compression purposefully, shaping transients, and applying reverb and delay with intention, you can create a drum mix that hits hard without overwhelming your production. Each layer, from the sub of your kick to the shimmer of your hi-hats, should work together to support the groove and engage the listener.
Ultimately, what sets a professional-sounding track apart is its power, clarity, and polish. As a music producer or a sound engineer, your ability to mix drums with depth and space is essential to achieving that level of quality. At pointblank Music School, you’ll learn directly from industry professionals through our BA (Hons) Music Production & Sound Engineering degree. We’re committed to providing a comprehensive, hands-on education that equips you with state-of-the-art facilities and techniques to craft professional-grade mixes.
Inspired?
Thanks to the dedication of our industry expert instructors, pointblank has earned a prestigious Gold rating in the Teaching Excellence Framework (TEF), placing us among the very best institutions. Whether you’re passionate about DJing, music production, sound engineering, vocal performance, software engineering, radio, or songwriting, pointblank offers degrees or short courses in London, LA, Ibiza, and Online. No matter your location or aspirations, we are here to help make your dreams a reality.
Register to Access Free Courses, Plugins, Projects, Samples & More
Register below and visit our Free Stuff page to get your hands on a range of free courses, exclusive music-making tools, and tutorials provided by the team.