Have you been wondering how to become an Ableton expert? Ableton Live is a popular digital audio workstation (DAW) software used by musicians, producers, and DJs for creating, producing, and performing music. It’s known for its innovative, non-linear approach to music production, live performance, and DJing. Ableton Live offers a unique combination of traditional linear arrangement and real-time, clip-based loop-oriented production. Key features include audio and MIDI recording and editing, a vast array of virtual instruments and effects, and robust MIDI mapping and automation capabilities.
1. Use clips for beat-making and live looping
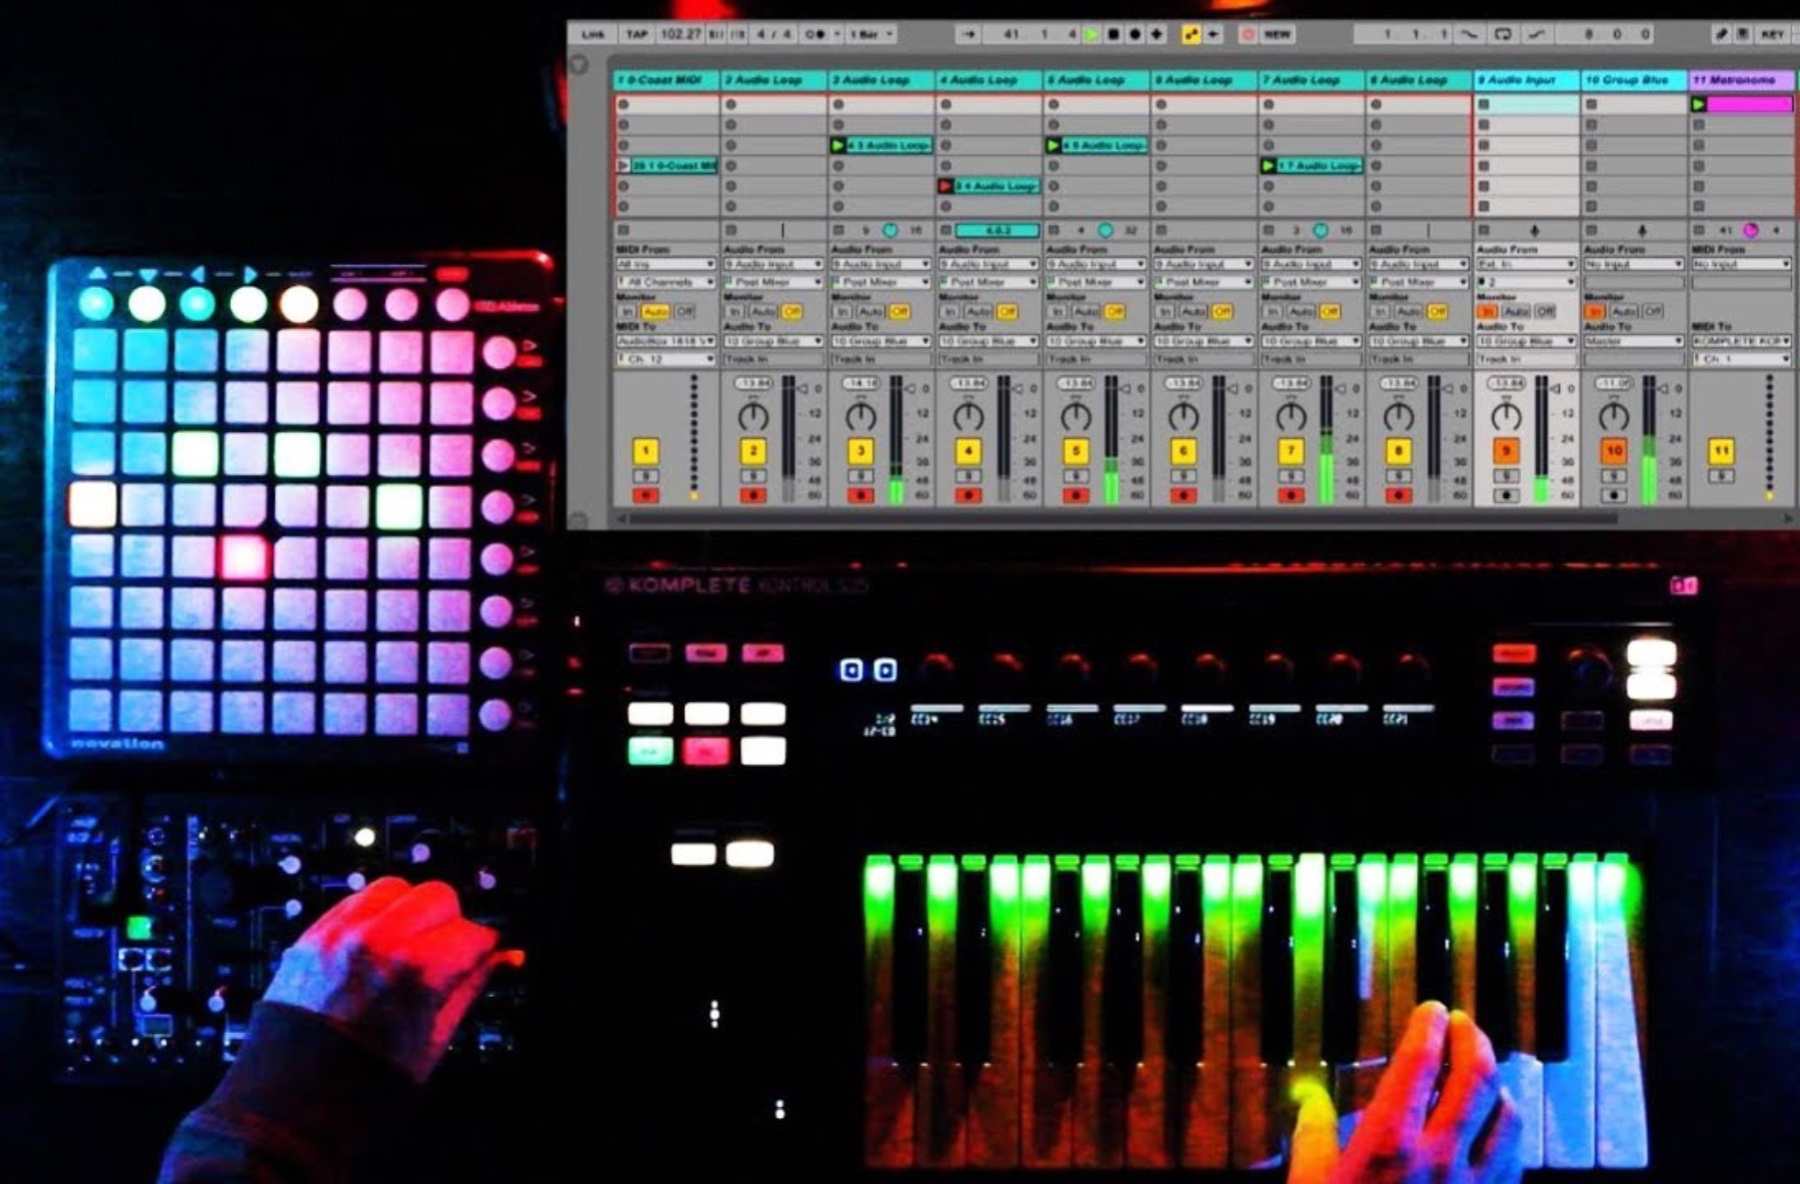
Clips are a powerful tool for creating beats, looping sounds, and arranging songs in Ableton. Here are some tips for Live Looping on Ableton.
- Create a dedicated Audio track for your first instrument. (Let’s call it “Input 1“).
- Set the Monitor to “In“, so you can always hear the Live input from the channel through the Master track.
- Create a dedicated track for Looping audio from “Input 1“. (Let’s call it “Loop 1“).
- Set the track’s Input Type to “Input 1“, so that it monitors the signal of your live instrument track.
- Set the Monitor to “Off” to avoid doubling the signal from “Input 1” while recording.
- Record-enable “Loop 1” at all times.
You can then use this method for your remaining tracks, carefully adjusting the I/O for each additional track. Or, you can have multiple tracks using the same source to create loops, allowing you to mix-and-match multiple loops from the same instrument.
2. Utilize the Arrangement View for song structure
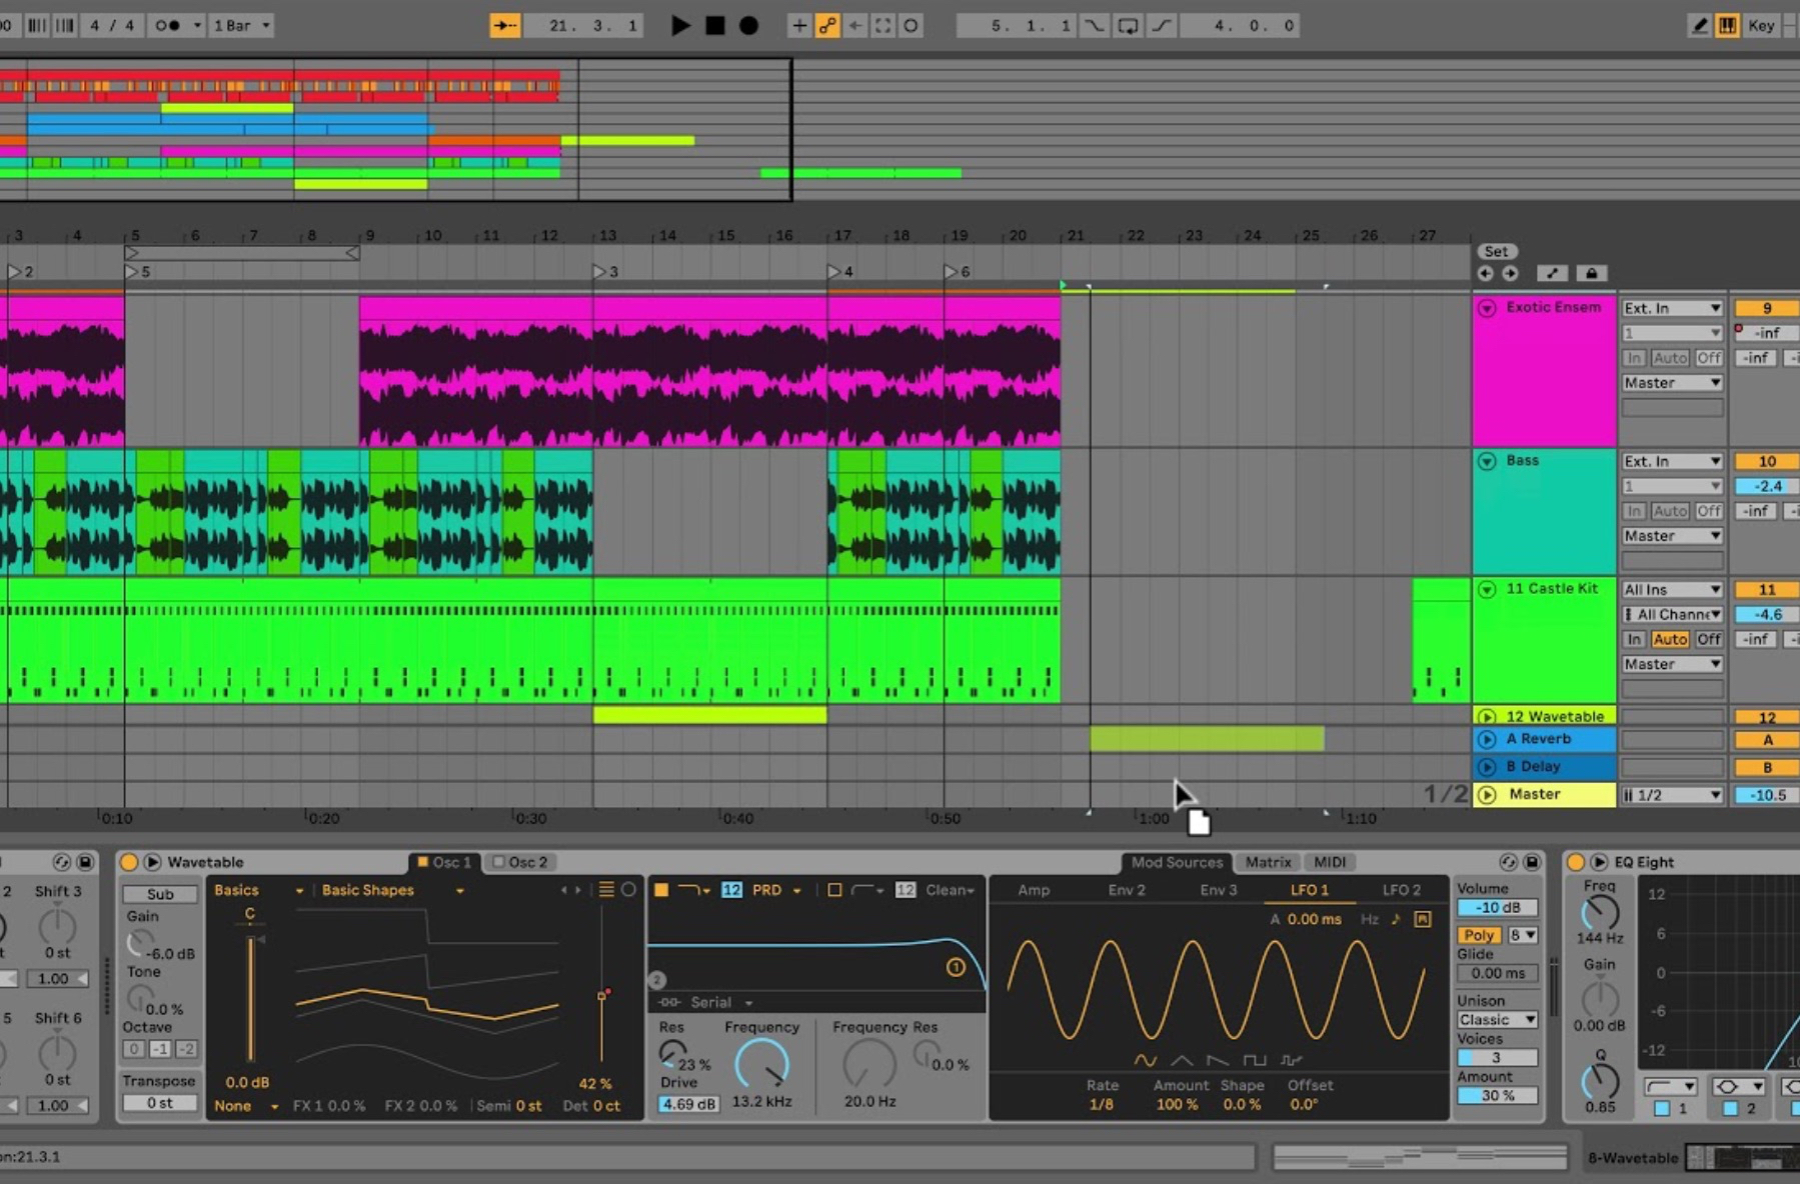
The Arrangement View is a traditional timeline-based view for arranging your song structure and is ideal for building complex musical arrangements. This displays the Arrangement, which contains music laid out along a song timeline, like a multitrack tape. It is a powerful editing tool that easily lets you combine and arrange MIDI, loops, sound effects, video and complete pieces of music. Live offers several fast methods for zooming and scrolling the Arrangement display. There are also a number of ways to control Live’s transport with the computer keyboard and mouse.
3. Make use of automation for dynamic sound manipulation
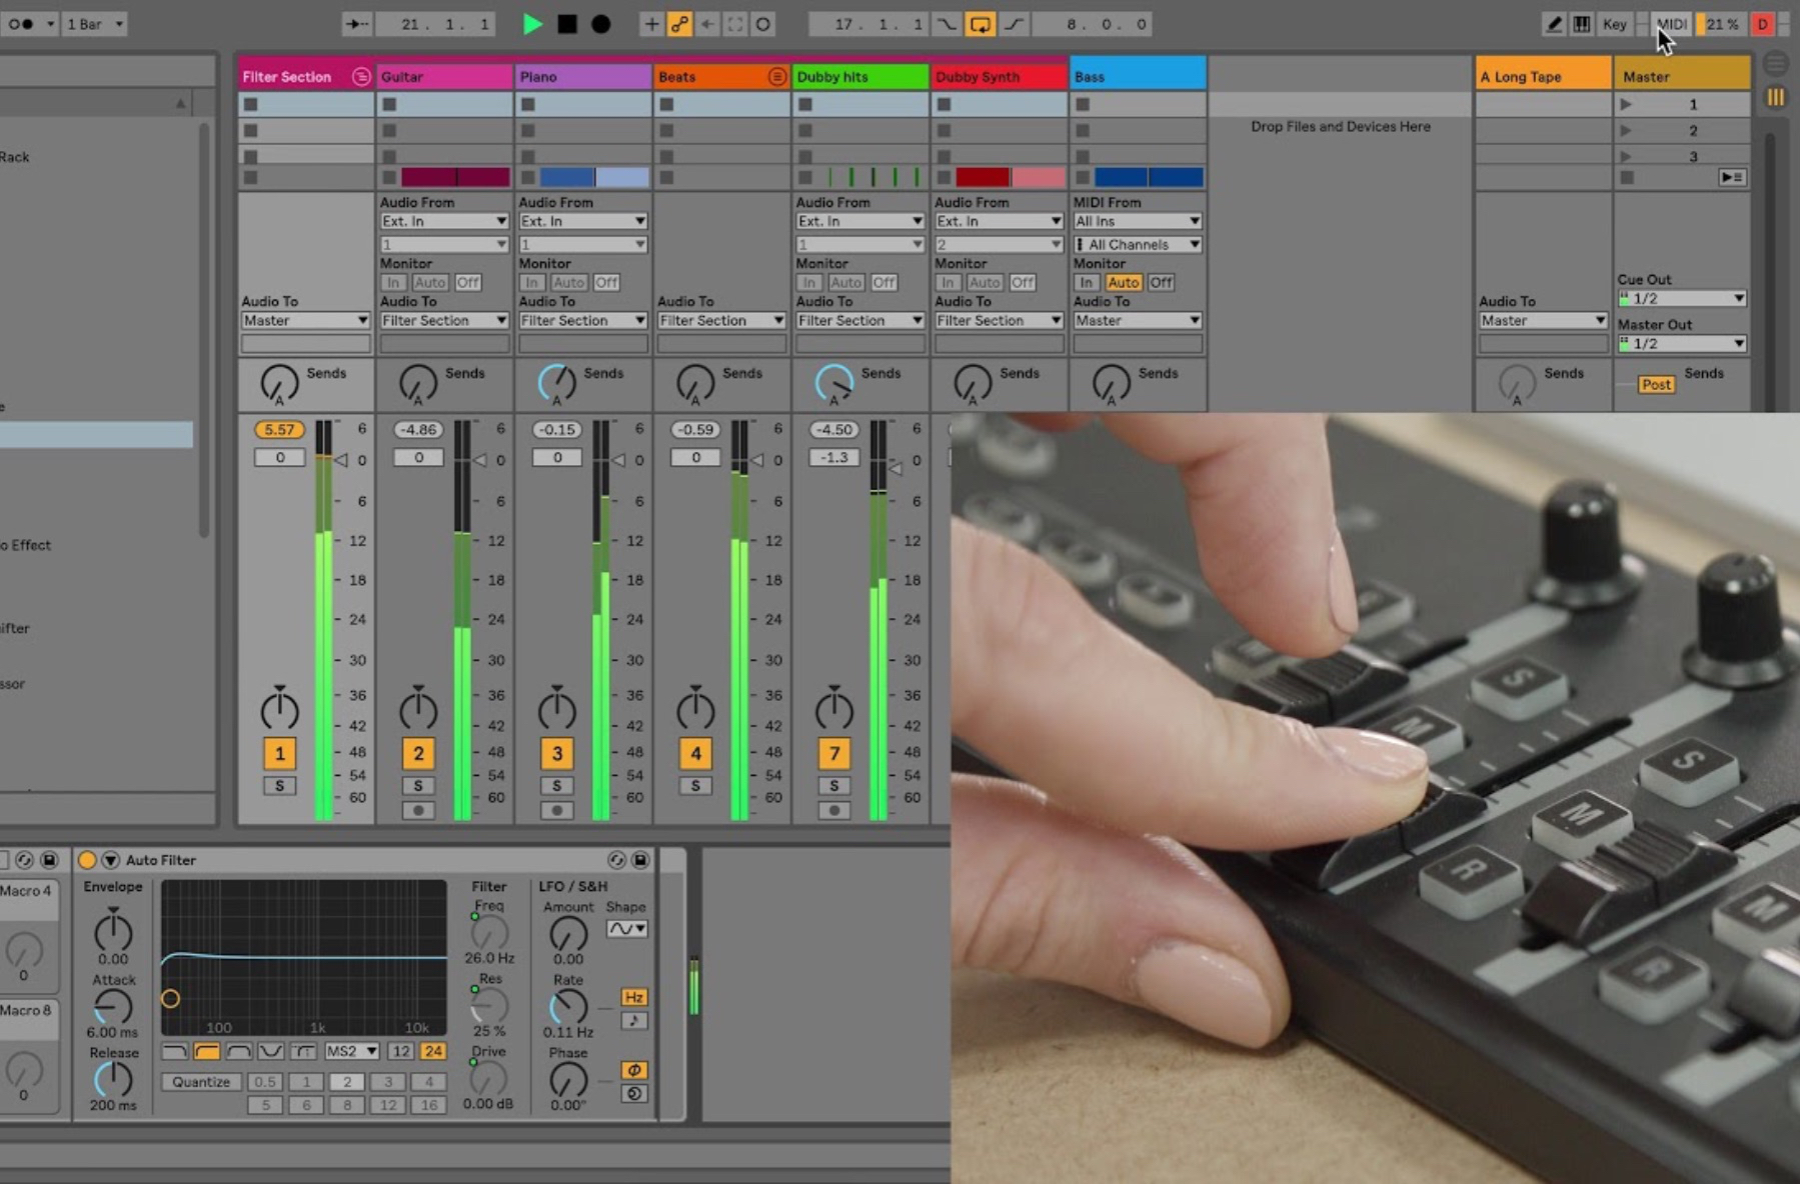
Automation allows you to create dynamic changes in your sounds over time, such as volume, panning, and other parameters. Often, when working with Live’s mixer and devices, you will want the controls’ movements to become part of the music. The movement of a control across the song timeline or Session clip is called automation; a control whose value changes in the course of this timeline is automated. Practically all mixer and device controls in Live can be automated, including the song tempo. Automation can be recorded to the Arrangement View in two ways:
- by manually changing parameters while recording new material directly into the Arrangement.
- by recording a Session View performance into the Arrangement if the Session clips contain automation.
During Session-to-Arrangement recording, automation in Session clips is always recorded to the Arrangement, as are any manual changes to parameters in tracks that are being recorded from the Session.
When recording new material directly to the Arrangement, the Automation Arm button determines whether or not manual parameter changes will be recorded.
4. Experiment with different devices and third-party plugins
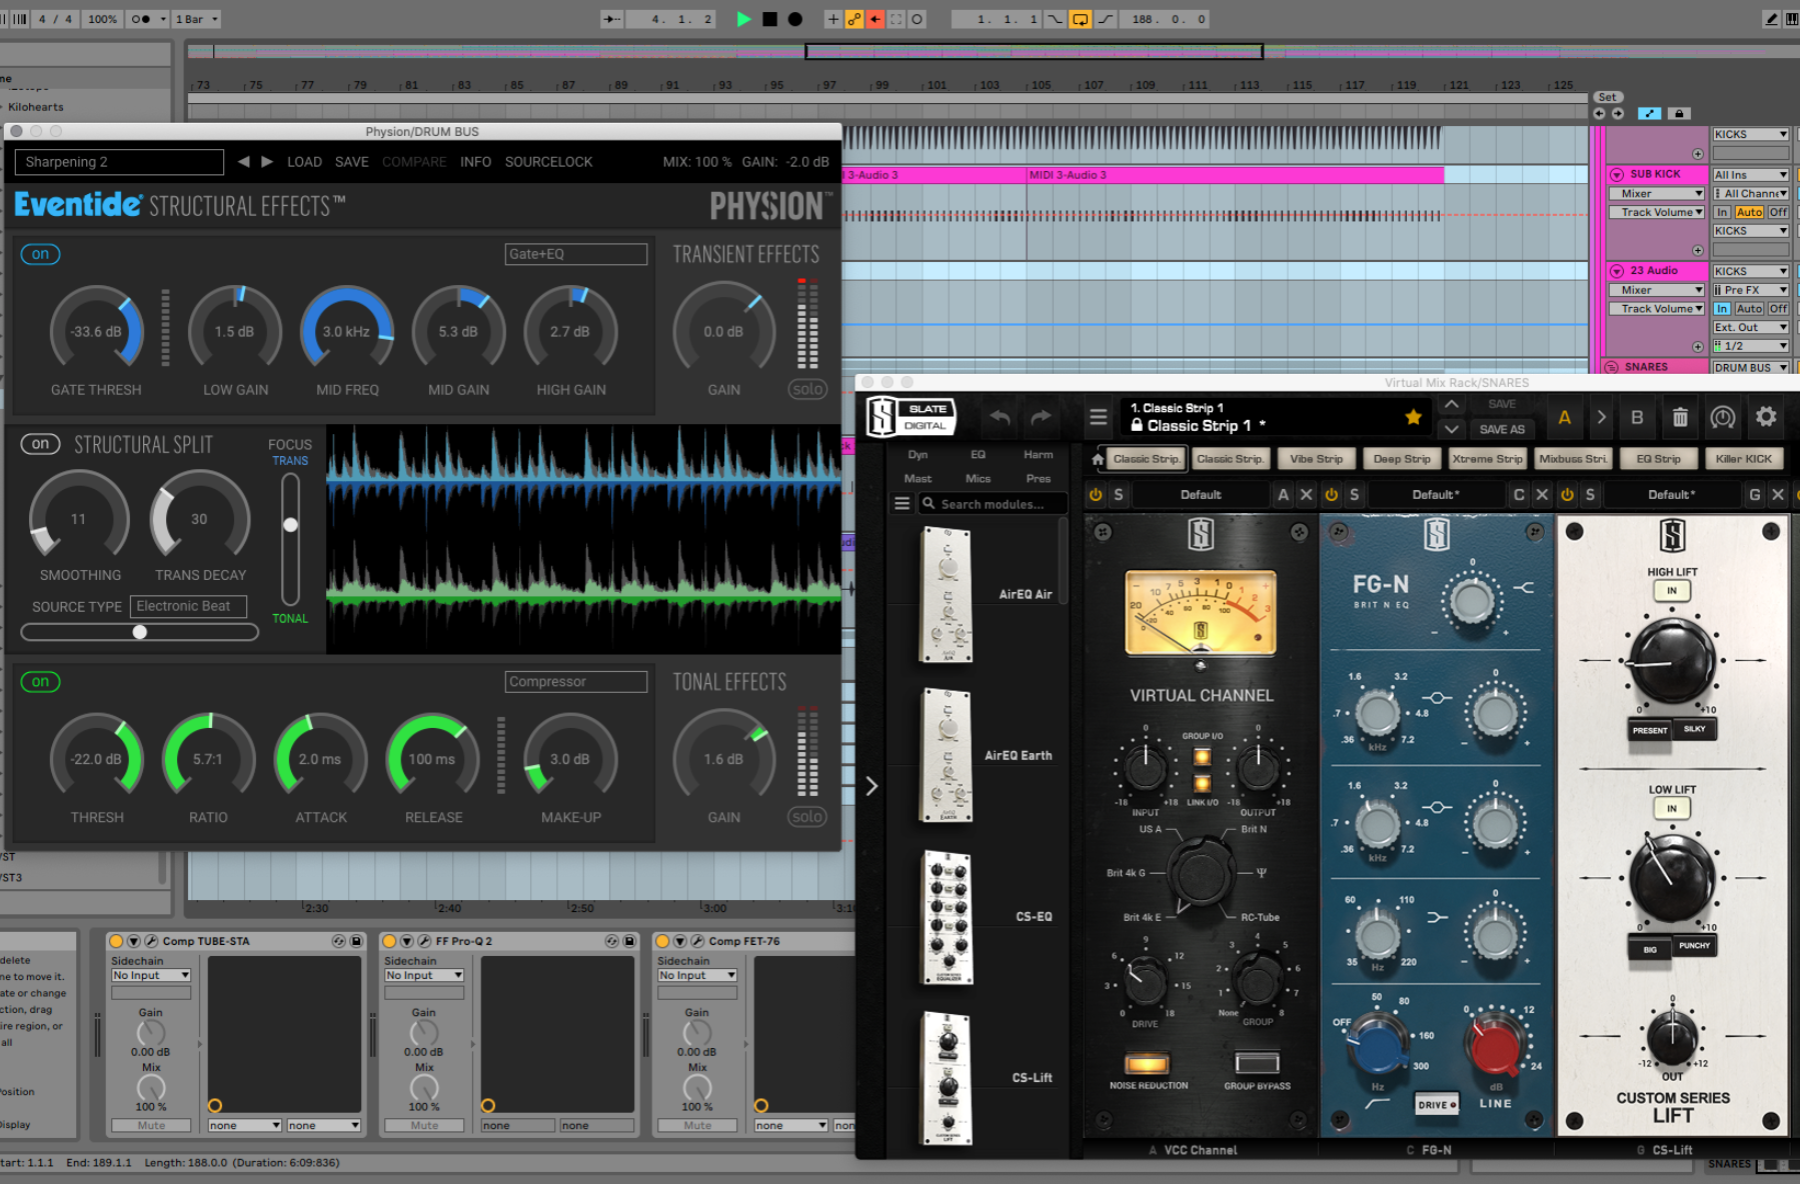
Ableton has a wide variety of built-in devices and third-party plugins that can greatly enhance your productions. Experimenting with different devices can bring new creative ideas. Plug-ins containing less than 32* adjustable parameters come already configured. A Live panel will represent all of the parameters as horizontal sliders.
Plug-ins that contain more than 32 parameters will open with an empty panel. In this case, you will need to configure the parameters that you want to access.
- Unfold device parameters. Check to see if the panel is already populated with controls or if you need to configure these manually.
- If the latter, begin by clicking Configure and then move the controls you want to map one-by-one. As you move a parameter, it will appear in the panel.
- Click Configure to exit Configure Mode.
Next you will create an Instrument Rack.
-
- Group the plug-in into an Instrument Rack (right-click on its title and choose Group).
- If you wish to set up Macro Controls, please see this section of the Live manual.
- Finally, hit the save button on the Instrument Rack to save it to your User Library.
5. Take advantage of MIDI mapping to control various parameters.
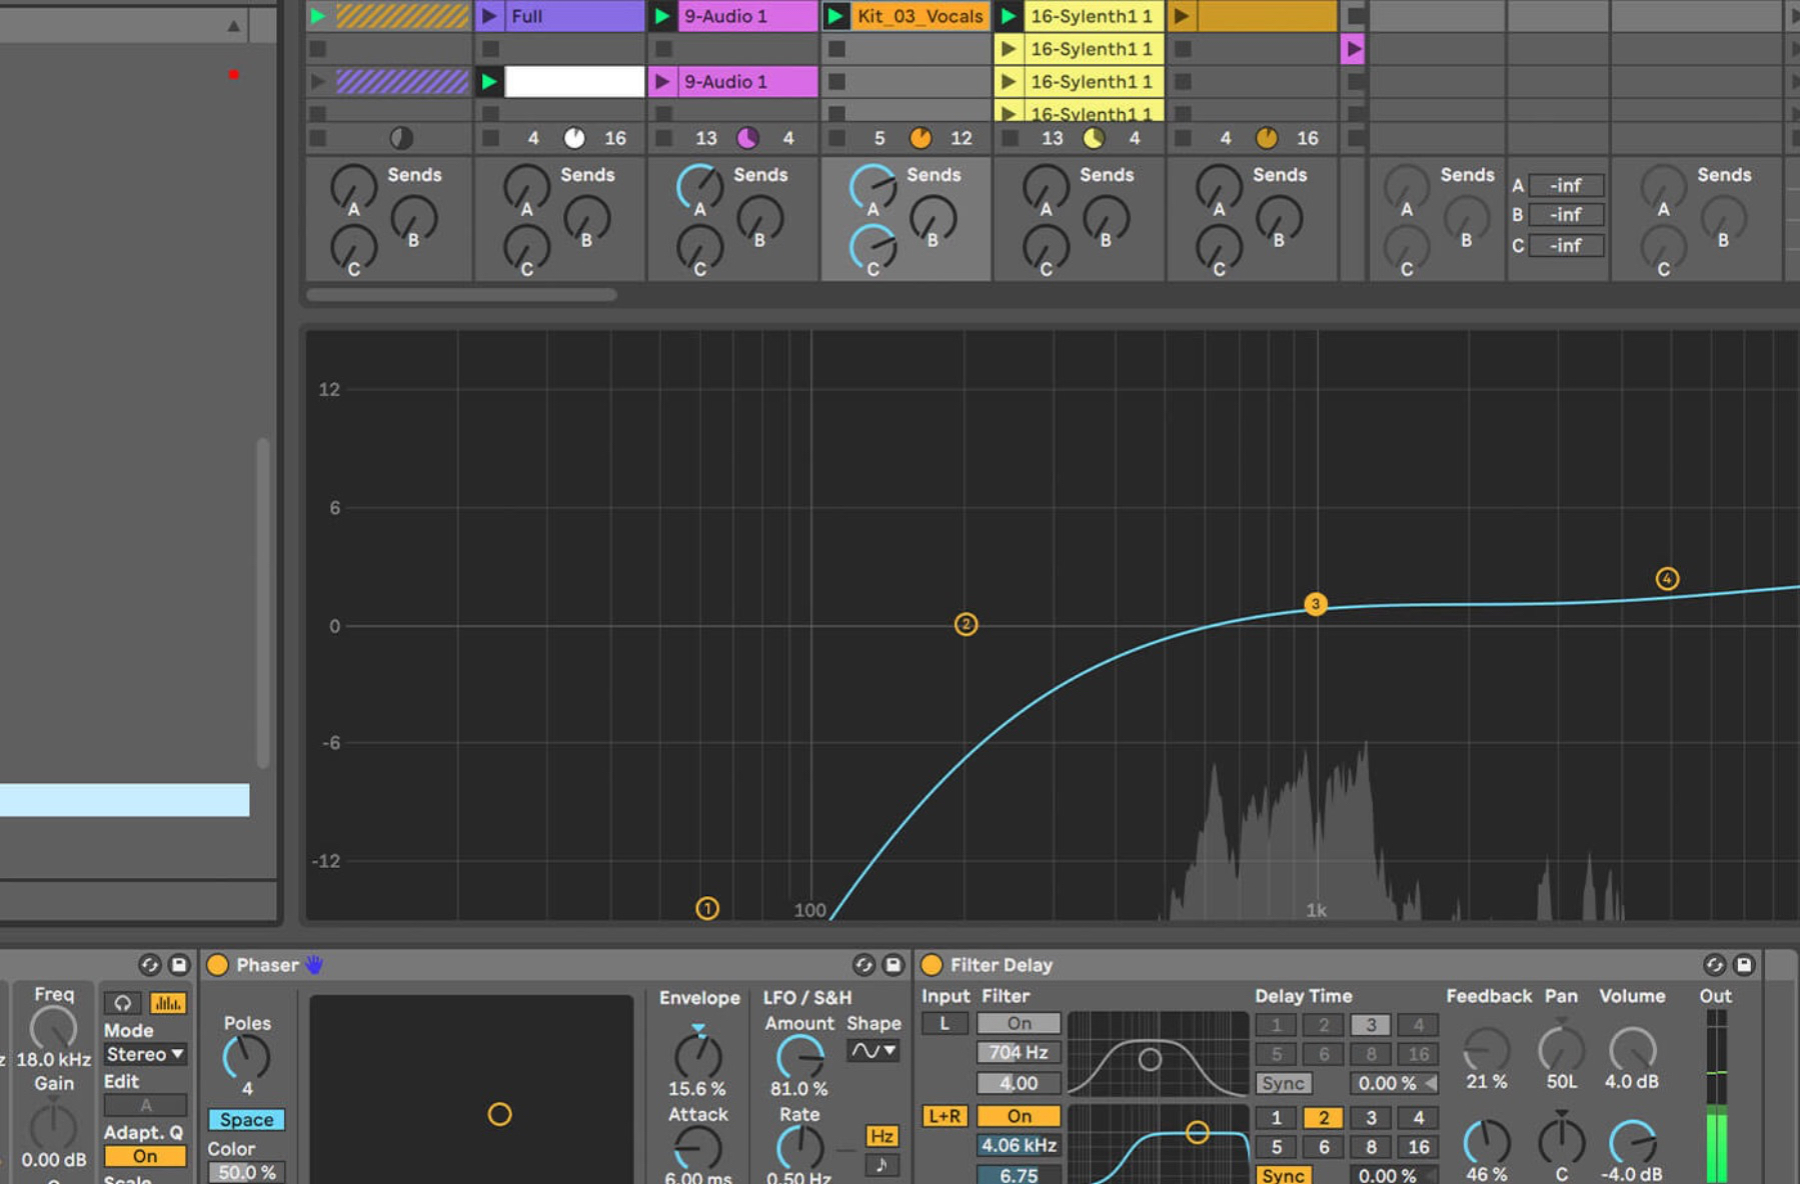

MIDI mapping is a feature that allows you to control various parameters in Ableton using a MIDI controller, such as a keyboard or drum pad, providing hands-on control for live performances.
You might want to create your own custom MIDI mappings in the following situations: your controller doesn’t have a Control Surface, your controller has a Control Surface but you want to override some parameters, your controller has a dedicated User Mode. First, you’ll need to configure the MIDI ports in Live’s Preferences > Link/MIDI. Enable the Remote switch for visual feedback on the controller. The exact configuration can vary depending on your MIDI device.
If you’re eager to get learning how to use Ableton or want to sharpen your skills, you should take one of our Music Production: Ableton courses. You will learn all of the ins and outs of Ableton and become a pro in no time.
To create a MIDI mapping:
- Turn MIDI map mode on: Mac: CMD + m, Windows: Ctrl + m.
- Select the function you want to map, e.g. a volume fader.
- Move a knob or slider on your controller.
- The controls are now mapped.
- Repeat for the remaining controls you want to map.
- Exit MIDI map mode.
So there are 5 tips to master and improve your Ableton skills. If you want to take your skills even further, then register for one of our Music Production: Ableton courses here at pointblank.
Register to Access Free Courses, Plugins, Projects, Samples & More
When you register with pointblank, you access an array of free sounds, plugins, online course samples and much more! Simply register below and visit our Free Stuff page to get your hands on a range of exclusive music-making tools and tutorials provided by the team. Fill your boots!
